Disclosure: In any review for a product or service, products or compensation may have been provided to me to help facilitate my review. All opinions are my own and honest. I am disclosing this in accordance with FTC Guidelines. Please see “Disclose” and "Terms of Use" tabs for more information.

This is a sponsored post written by me on behalf of Duck Brand® for IZEA Worldwide. All opinions are 100% mine.
There is a substance known to man that has proven one of the most important substances to handy-men and women, crafters, gardeners, mechanics and children. This substance is Duck® brand duct tapeR).
This wondrous tape will hold things together tightly, is weather poof and is now available in time for back to school. You may be asking what does Duck Tape(R) have to do with back to school? Well the answer to that is quite simple. Lets say your little ones want something truly unique and special that only they have. Why not make them something? Maybe a pencil case with a nifty design and color unique to them?
Take a look at creating a Duck Tape(R) school supply case.
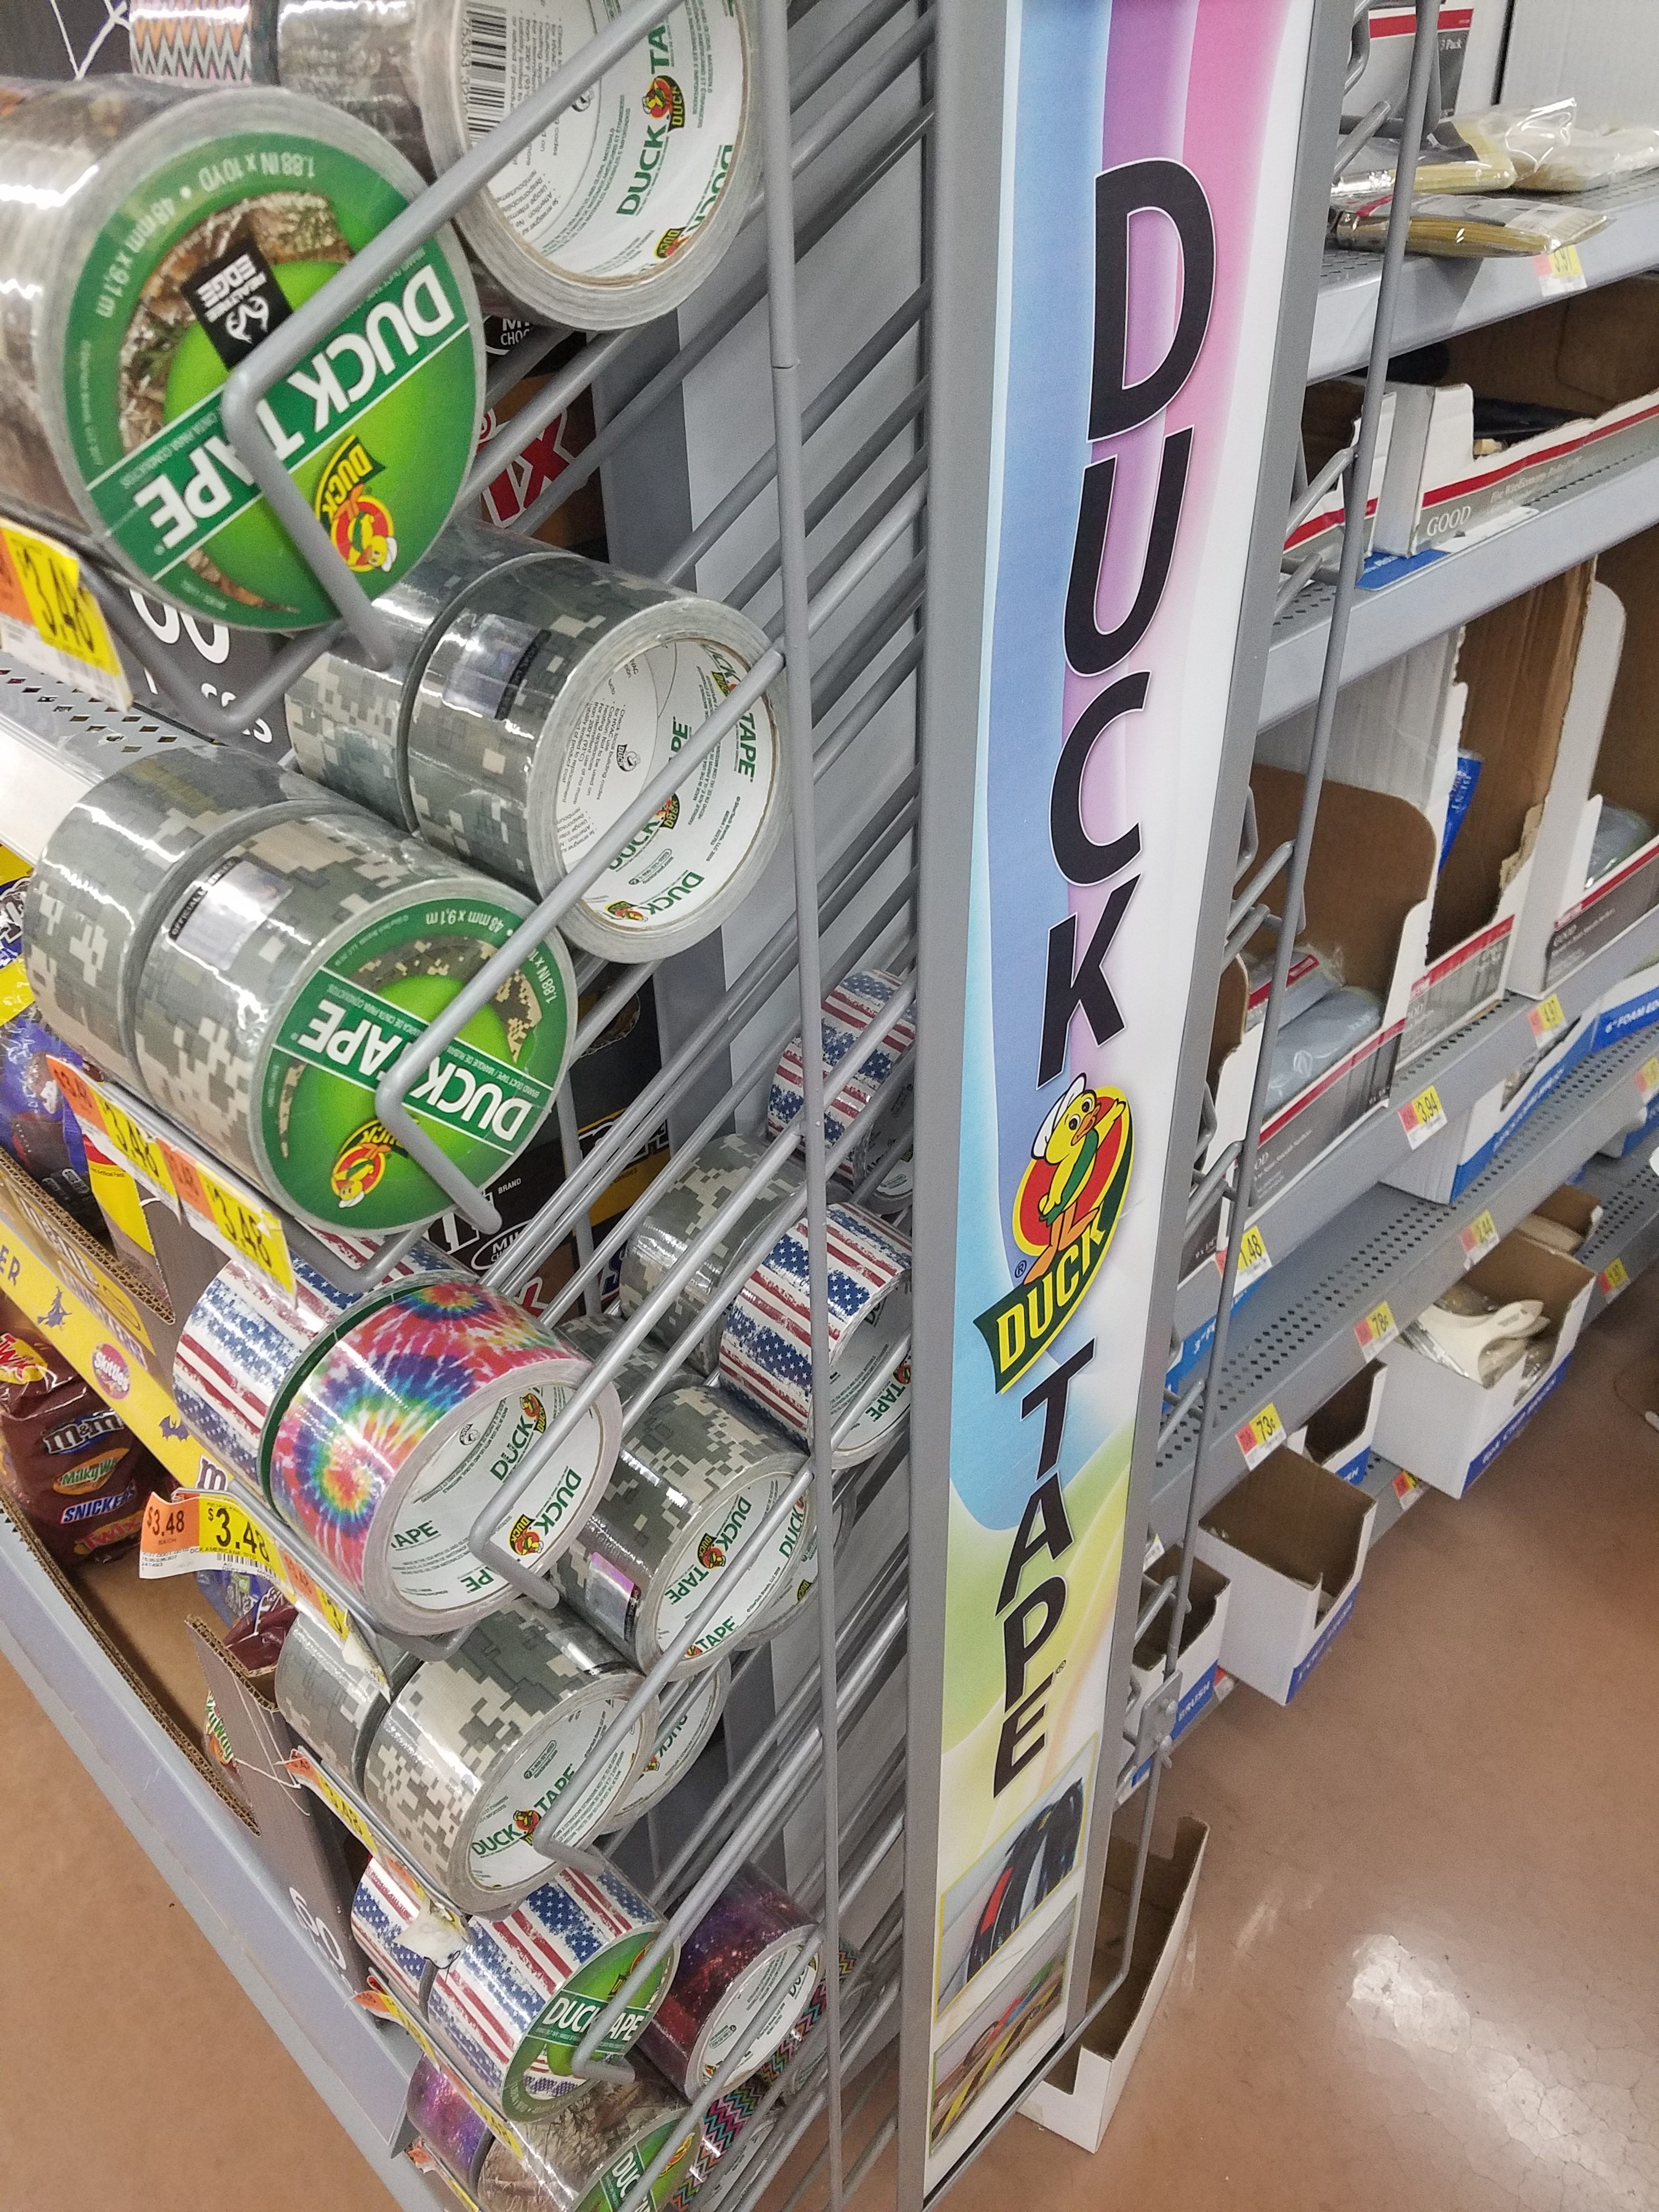
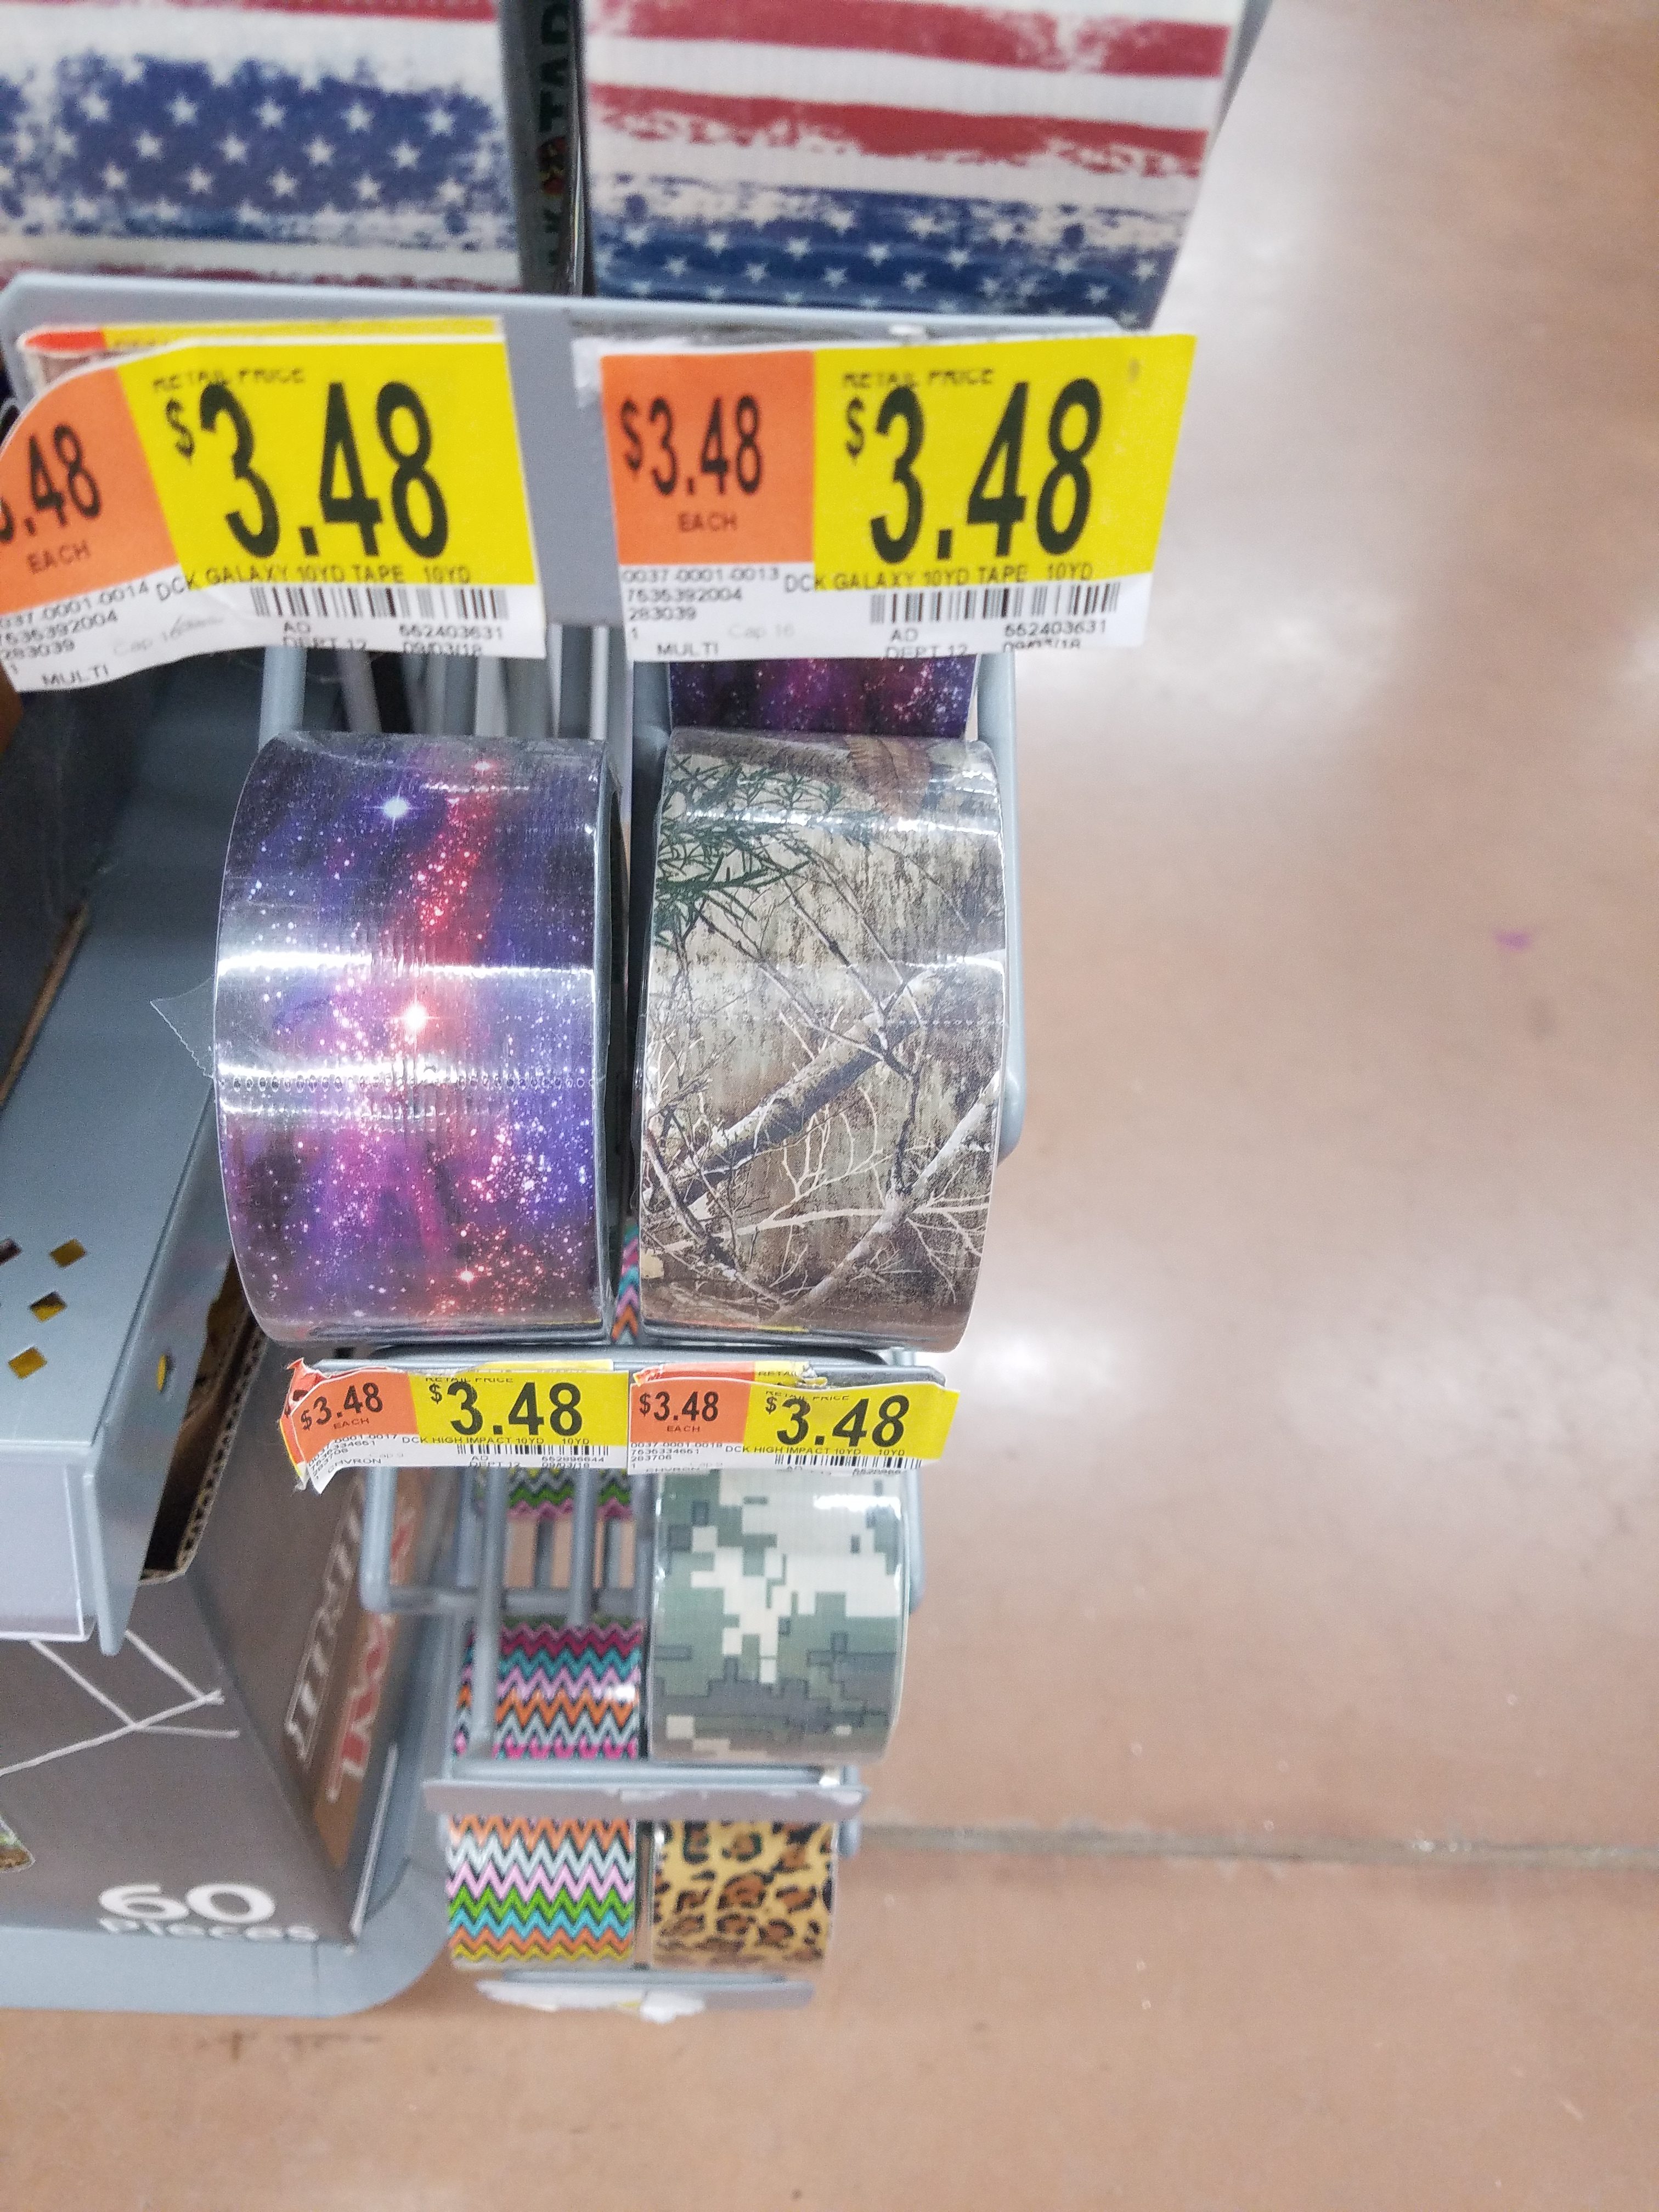
This pencil case is perfect for cleaning up that cluttered backpack or desk and starting the school year off right. You can use any kind of tape, like Color Duck Tape® or Printed Duck Tape® to make your projects more individualized.
The directions below are from the Duck Tape(R) Ducktivities projects.
Approximate Crafting Time
1 Hour & 0 Minute
Supplies and Tools
Duck Tape(R)
1 qt. sandwich bag with zip closure
Scissors
Craft knife
Pen
Ruler
Crafting board

Directions
Step 1
Cut the zipper part off your sandwich bag. Leave about 1/2 inch of bag attached to the zipper part. Do not throw away the rest of the bag.
Step 3
Using a strip of Duck Tape(R), adhere the piece of Duck Tape(R) fabric you made in step 2 to the zipper from step 1. Repeat for the other side with your second piece of Duck Tape® fabric.
Step 4
Fold a single piece of Duck Tape(R) over each of the open edges of the supply case to close them up. Trim any excess tape.
Step 5
For the I.D. holder cut a rectangle out of the remaining plastic bag that measures 2.5 in. tall by 4 in. wide.
Step 6
Cut a piece of Duck Tape(R) that measures 1 in. tall and 4 in. wide and fold it over the top of the plastic rectangle from step 5. Use 3 more pieces on the sides and bottom to attach it to your case, keeping the top open.
Step 7
If desired, adhere 3 more strips of a different color Duck Tape®, leaving a little of the previous color Duck Tape(R) showing. Trim any excess.
Step 8
Create a tab to add to your supply case by cutting off a 5 in. long piece of Duck Tape®and folding it over on to itself lengthwise.
Step 9
Cut a 1 in. slit in the side of your supply case with a craft knife and insert the tab. Use a small piece of tape on the inside to hold the tab in place.
Also make sure you follow @TheDuckBrand on Twitter for other fun Ducktivities.


I really wish there were photos of this product. I have no idea how it’s supose to look..
There is so much that you can do with duck tape now! There used to be literally two kinds when I was smaller + it was to fix things!
Ah I really like this idea! You can have some much fun with duct tape!
That’s a great idea. I don’t the Duck tape brand as I live out of US but I know how creative children can be with tapes in general.
I love this creative craft! It seems so perfect for a rainy day activity.
This sounds like a fun activity! Duct tape is so useful isn’t it – you can repair pretty much anything with it!
I’ve always wanted to try a duct tape craft! I think Sawyer is *almost* old enough. We’re always sure to keep rolls around just in case, and I’ll have to check out the duck tape brand (such a cute name!).
This is such a fun project! There are so many great Duck Tape prints available, it’s easy to find one for anyone.
What a fun idea! Sounds like a craft my boys would enjoy. You can do almost anything with duct tape!
I love how easy it is, and how inexpensive it is to do! Now I gotta find some use for duck tape