Disclosure: In any review for a product or service, products or compensation may have been provided to me to help facilitate my review. All opinions are my own and honest. I am disclosing this in accordance with FTC Guidelines. Please see “Disclose” and "Terms of Use" tabs for more information.

Around 93% of travelers feel compelled to take travel photos while on vacation. And why shouldn’t you take as many photos on your trip?
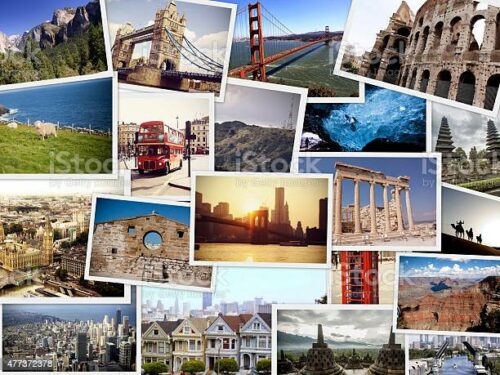
Photos and souvenirs are the only things that can ease the post-travel blues when you get back home. And creating a travel collage with your vacation snaps is a much more creative option than posting them on social media.
But you likely have hundreds of vacation photos, and there are so many ways to arrange them. It’s going to be difficult to choose between them.
Don’t worry! This step-by-step guide will show you how to make an amazing collage from your travel experiences.
Step 1: Choose a Medium
Creating a travel photo wall collage might seem like the obvious way to display your collage. But you should consider these options too:
- Scrapbook
- Pinned on a corkboard
- Pinned on a map
- Photobook
- Memento display case
Think about size and portability when picking a medium. If you don’t want something that takes up much space, a digital collage or slideshow might be better for you.
Step 2: Choose Your Photos
This is the most fun yet most difficult part of creating a collage! You can’t include all your photos in your travel collage, but it should still encapsulate your whole trip.
So, make a list of the following:
- Every place you visited
- People you traveled with
- Favorite people you met
- Five favorite activities
Make sure you pick one photo for every item on your list, so you include all the most important memories. Then, choose pictures that are the most colorful and beautiful to fill out your collage.
Step 3: Edit Your Photos
You can improve even your most beautiful travel photos with photo editing. Use a free or professional tool like Adobe Lightroom to lighten and enhance the colors of your photos. You can also use a background remover to get rid of people, trash, or anything else from your best photos.
Step 4: Add Textures and Tidbits
At this point, you’ve either got your vacation photos in your hands or a folder on your computer. Now you need to arrange them and finish the job!
If you are creating a wall display or scrapbook, arrange your photos before sticking them down. You could put them in chronological order or mix them up in a way that looks good to the eye. Use craft materials and other souvenirs like tickets to add more texture to your display.
But if you are creating a digital travel collage, write a short note with each photo. It could be a funny caption or a relevant story from your trip.
That’s How To Create a Travel Collage in Four Simple Steps
Travel collages are a fun way to relive the amazing experiences you had on vacation. And now you know how to make the best collage for you; it will become as treasured as your memories of the trip itself.
But creating a travel collage is only one way to remember your travels. Collecting travel souvenirs and other travel memorabilia is fun too! Check out our website for more awesome travel shopping tips.


Speak Your Mind
You must be logged in to post a comment.