Duck Tape Creativity

duck tape crafts

This is a sponsored post written by me on behalf of Duck Brand® for IZEA Worldwide. All opinions are 100% mine.

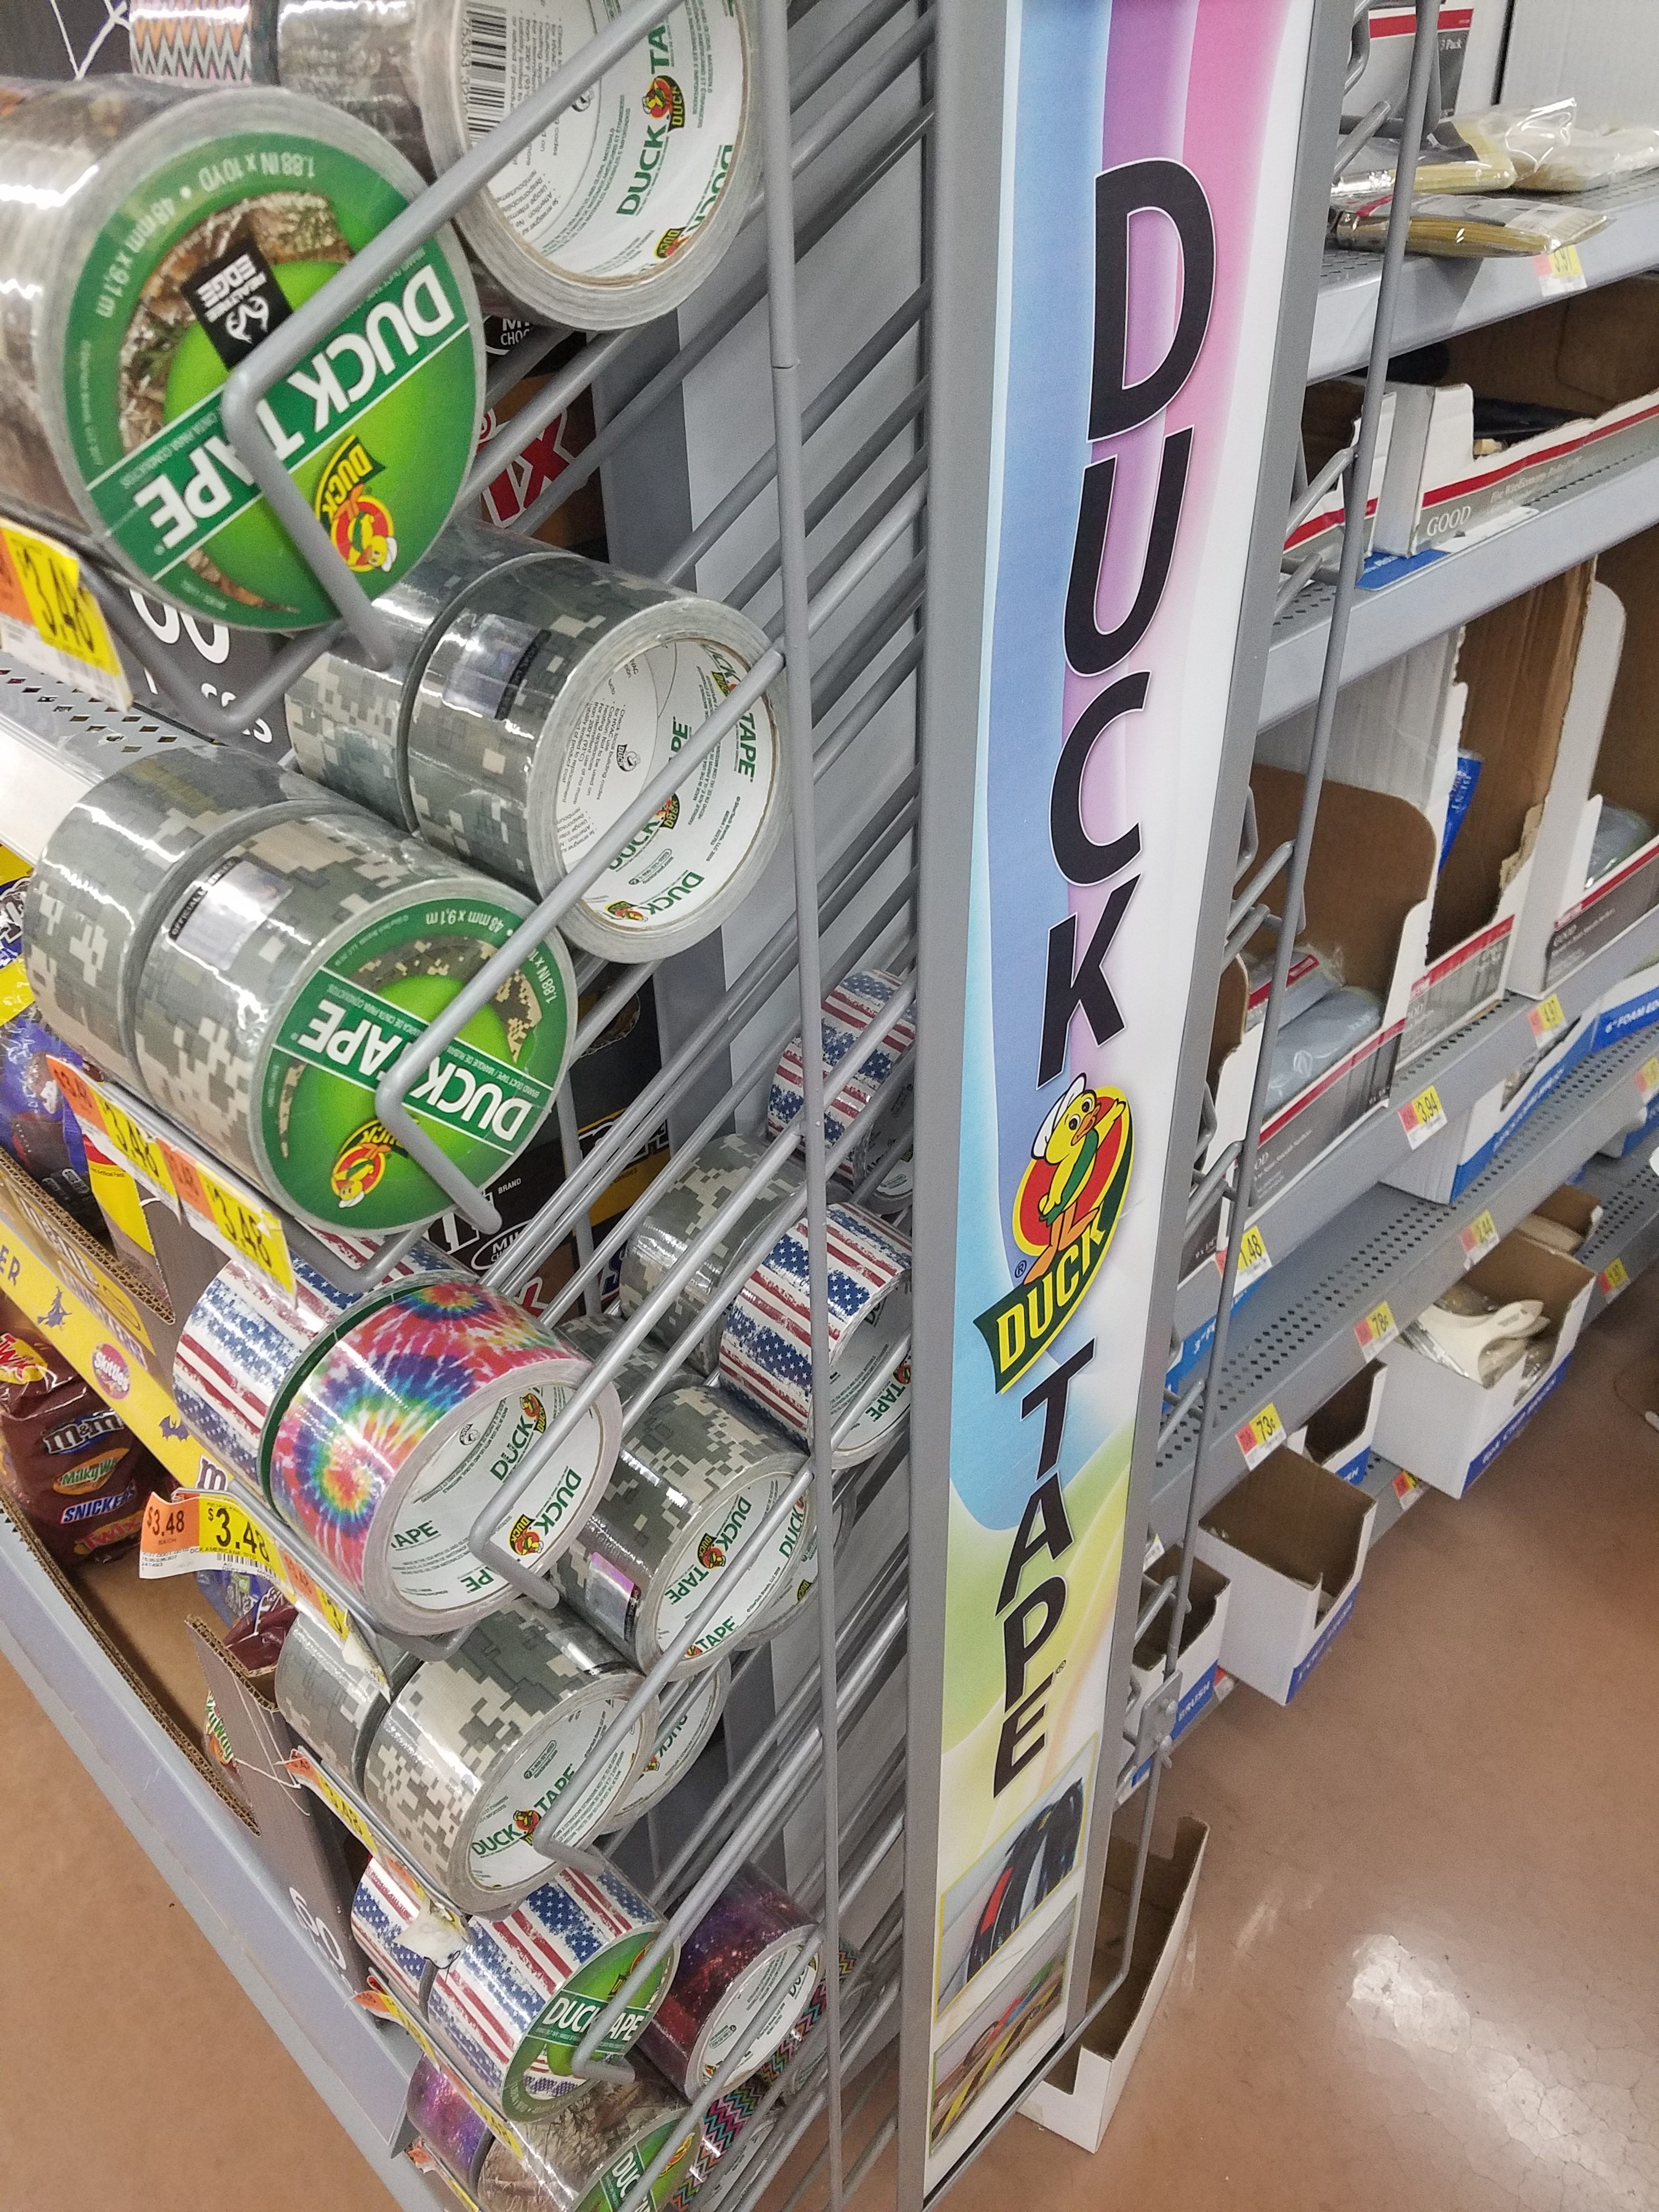
There is a substance known to man that has proven one of the most important substances to handy-men and women, crafters, gardeners, mechanics and children.  This substance is Duck® brand duct tapeR).

This wondrous tape will hold things together tightly, is weather poof and is now available in time for back to school.  You may be asking what does Duck Tape(R) have to do with back to school?  Well the answer to that is quite simple.  Lets say your little ones want something truly unique and special that only they have.  Why not make them something?  Maybe a pencil case with a nifty design and color unique to them?

Take a look at creating a Duck Tape(R)  school supply case.

This pencil case is perfect for cleaning up that cluttered backpack or desk and starting the school year off right. You can use any kind of tape, like Color Duck Tape® or Printed Duck Tape® to make your projects more individualized.

The directions below are from the Duck Tape(R) Ducktivities projects.

Approximate Crafting Time

1 Hour & 0 Minute

Supplies and Tools

Duck Tape(R)

1 qt. sandwich bag with zip closure

Scissors

Craft knife

Pen

Ruler

Crafting board
duck tape

Directions

Step 1

Cut the zipper part off your sandwich bag. Leave about 1/2 inch of bag attached to the zipper part. Do not throw away the rest of the bag.

Step 2

Make 2 pieces of Duck Tape(R) fabric that measure as wide as your bag and 4 in. tall.

Step 3

Using a strip of Duck Tape(R), adhere the piece of Duck Tape(R) fabric you made in step 2 to the zipper from step 1. Repeat for the other side with your second piece of Duck Tape® fabric.

Step 4

Fold a single piece of Duck Tape(R) over each of the open edges of the supply case to close them up. Trim any excess tape.

Step 5

For the I.D. holder cut a rectangle out of the remaining plastic bag that measures 2.5 in. tall by 4 in. wide.

Step 6

Cut a piece of  Duck Tape(R) that measures 1 in. tall and 4 in. wide and fold it over the top of the plastic rectangle from step 5. Use 3 more pieces on the sides and bottom to attach it to your case, keeping the top open.

Step 7

If desired, adhere 3 more strips of a different color Duck Tape®, leaving a little of the previous color Duck Tape(R) showing. Trim any excess.

Step 8

Create a tab to add to your supply case by cutting off a 5 in. long piece of Duck Tape®and folding it over on to itself lengthwise.

Step 9

Cut a 1 in. slit in the side of your supply case with a craft knife and insert the tab. Use a small piece of tape on the inside to hold the tab in place.

Also make sure you follow @TheDuckBrand on Twitter for other fun Ducktivities.

Visit Sponsors Site

Fun Toys That Let You and Your Children be Creative

It can be hard to find something to do as a family, or something that will entertain the kids that doesn’t need to be charged. Getting kids away from screens can be challenging, but with toys like these, you won’t have to try too hard.

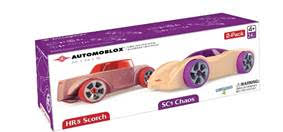
Have a little car lover? (Or maybe a big one, as well- Father’s Day is just around the corner) You can select from a handful of new mini-vehicles from Automoblox®, an award-winning line of high-quality collectible wooden car toy vehicles. Included the pick-up truck Grizzly, the X10 Timber Pack SUV with a trailer, and the very first Automoblox motorcycle. These cars have a body made of European beech wood, and can be manipulated multiple ways to create different designs.  Both kids (recommended for ages 4 and up) and adults love playing with the mix and max, fun to put together cars that don’t require tools to create. New minis are priced at $11.99 – $23.99. The larger  BR100 Hercules 16.5″ hauler (that can also be recreated into a dump truck) is $59.99.  It is not only larger, but also comes with two back ends, a ramp, two mini vehicles, and has room to hold five mini vehicles. Get yours on Amazon.

puzzles autism

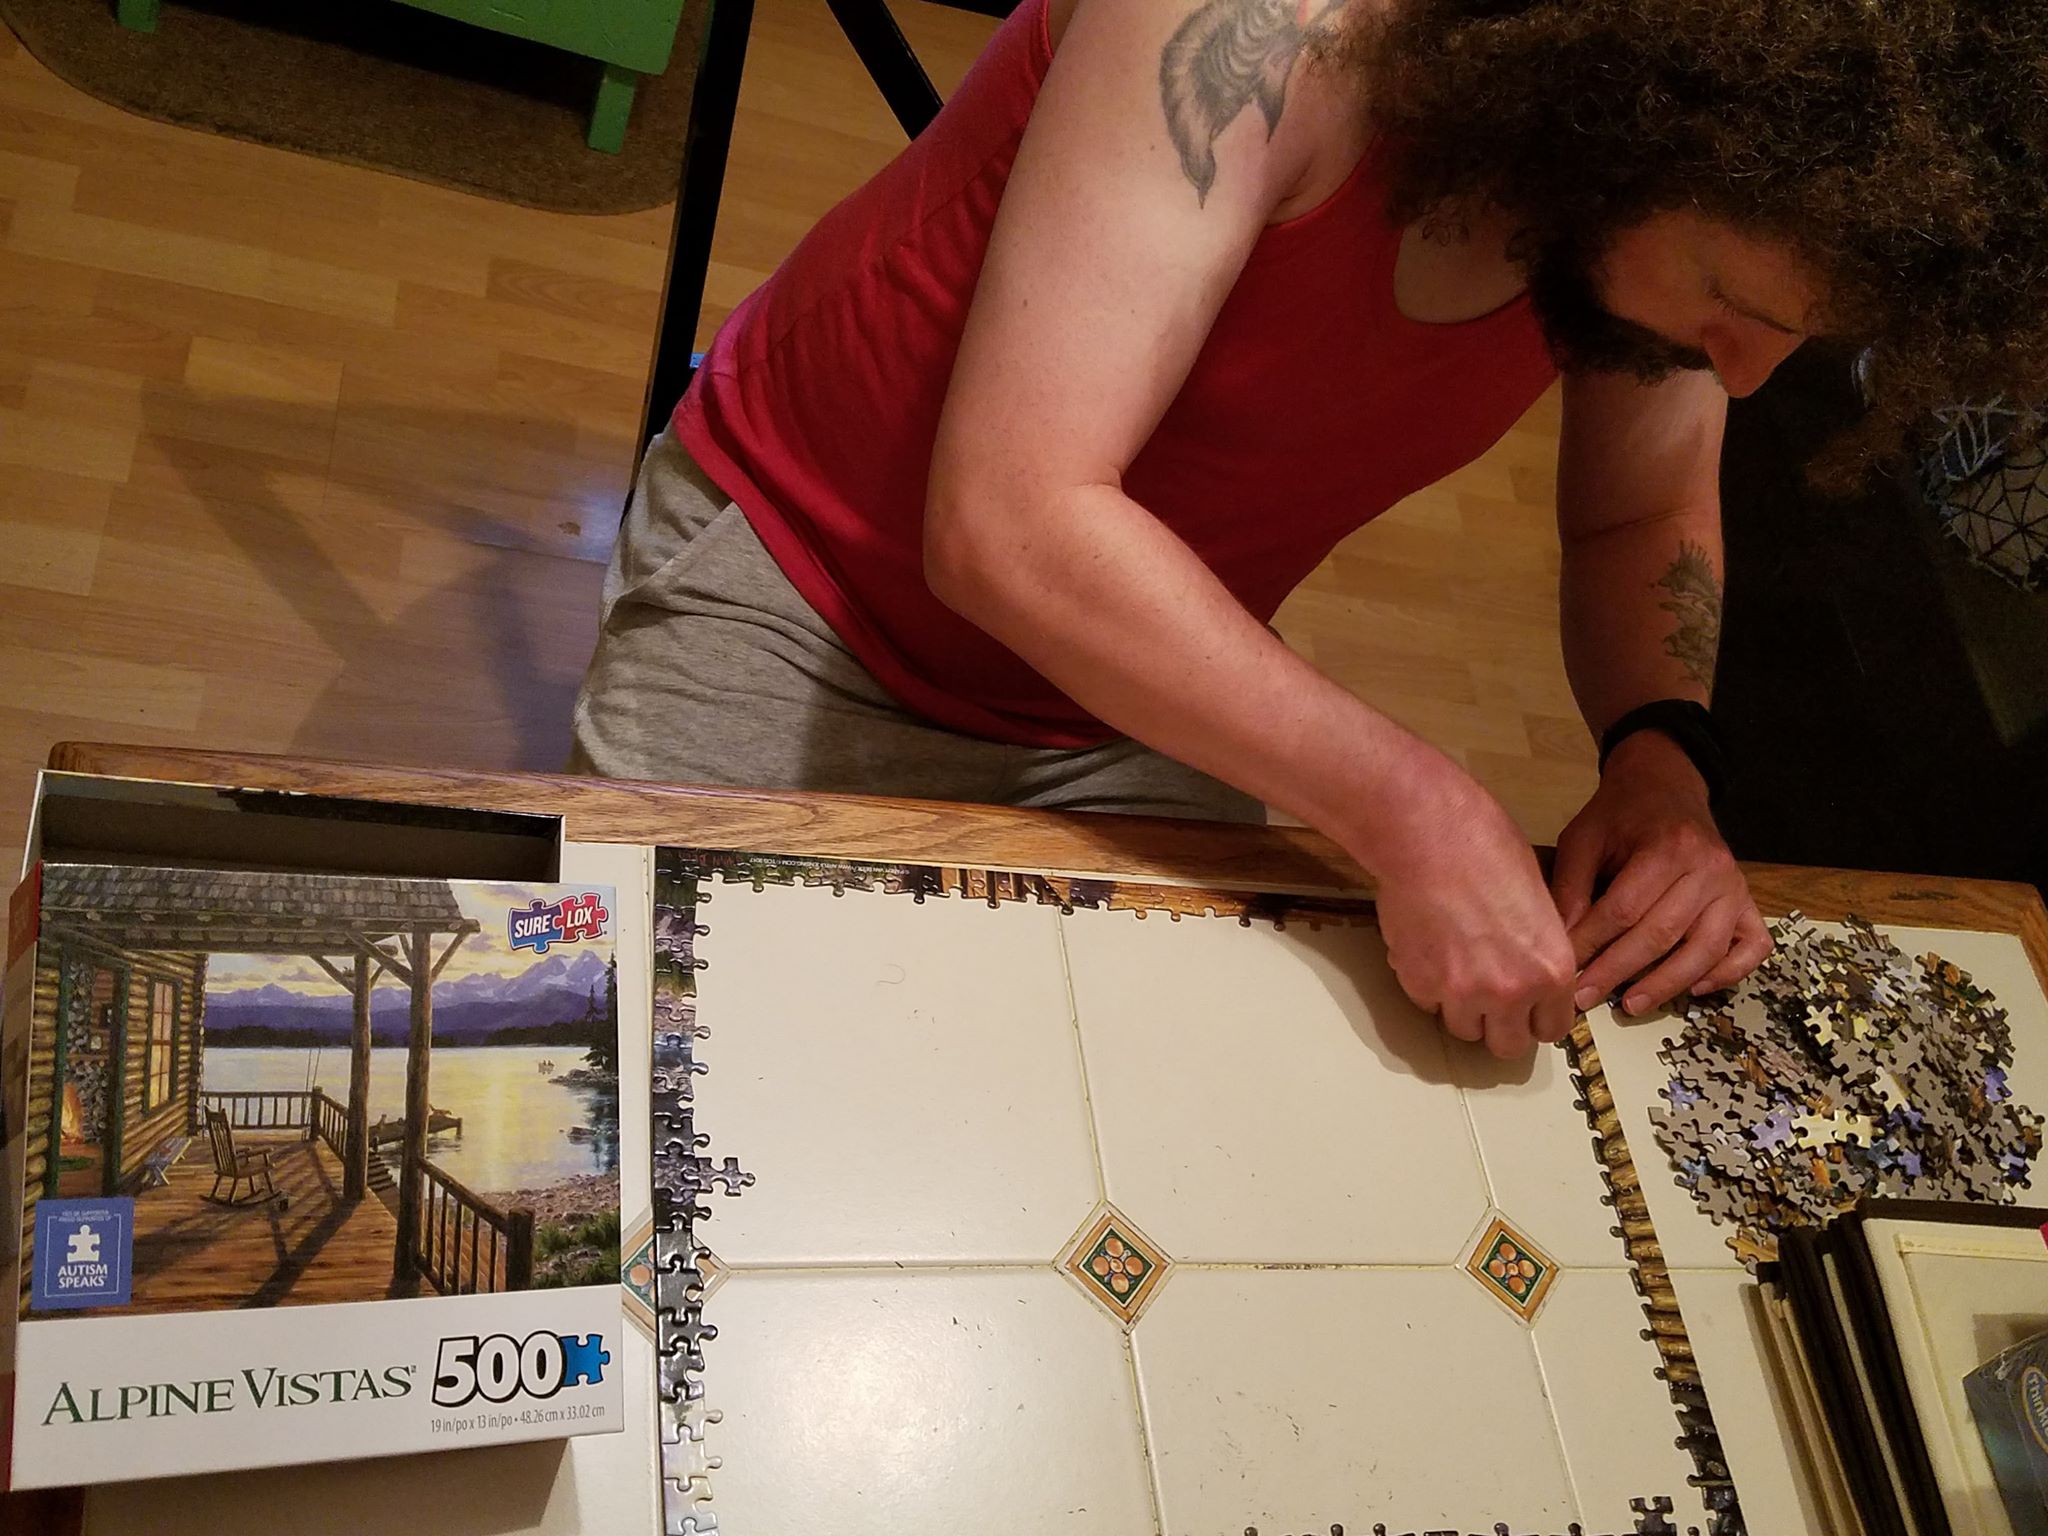
If you are a fan of puzzles, TCG has an excellent line that you will want to get your hands on. They have s many options of different photos, scenes, and piece counts, there is something for everyone (and every family ability). These are really beautiful, well crafted puzzles you will be tempted to frame (and in fact, we are framing one of ours). In addition, TCG has a campaign that benefits both Autism Speaks and Autism Speaks Canada since 2016. As puzzles help calm and stimulate some children and adults with Autism, it is a wonderful fit and a great cause to support. Every box has Autism Speaks puzzle piece logo on it. “TCG’s Autism Speaks assortment includes puzzles designed for a wide range of puzzlers, from the whimsical and gorgeous renderings of fantasy artist Miharu to original TCG designs, and more.” (as per TCG) Prices range from $3.99 for a 200 piece puzzle to $7.99 for a 1,000 piece puzzle.

DIY kids

Have a creative teen or tween? Consider Juicy Couture Fruit Obsessions Bracelets and Juicy Couture Hair Candy Accessories- Juicy Couture is all the rage with the younger girls right now, and these definitely hit their mark in this house, let me tell you. My daughter was thrilled, couldn’t wait to get her hands on these kits, and was excited about the results. She wears them often, and I’m sure you will have similar results with your young fashionista. What is more fun then making your own accessories? Not much at that age. And these are definitely NOT the cheesy, kiddie kits from our childhood- these make high quality, really nice looking items. They look store bought, more like what you see adults creating on Etsy. If your child is a fan, you will want to check these out. Prices vary, but I’m seeing these for about $15.

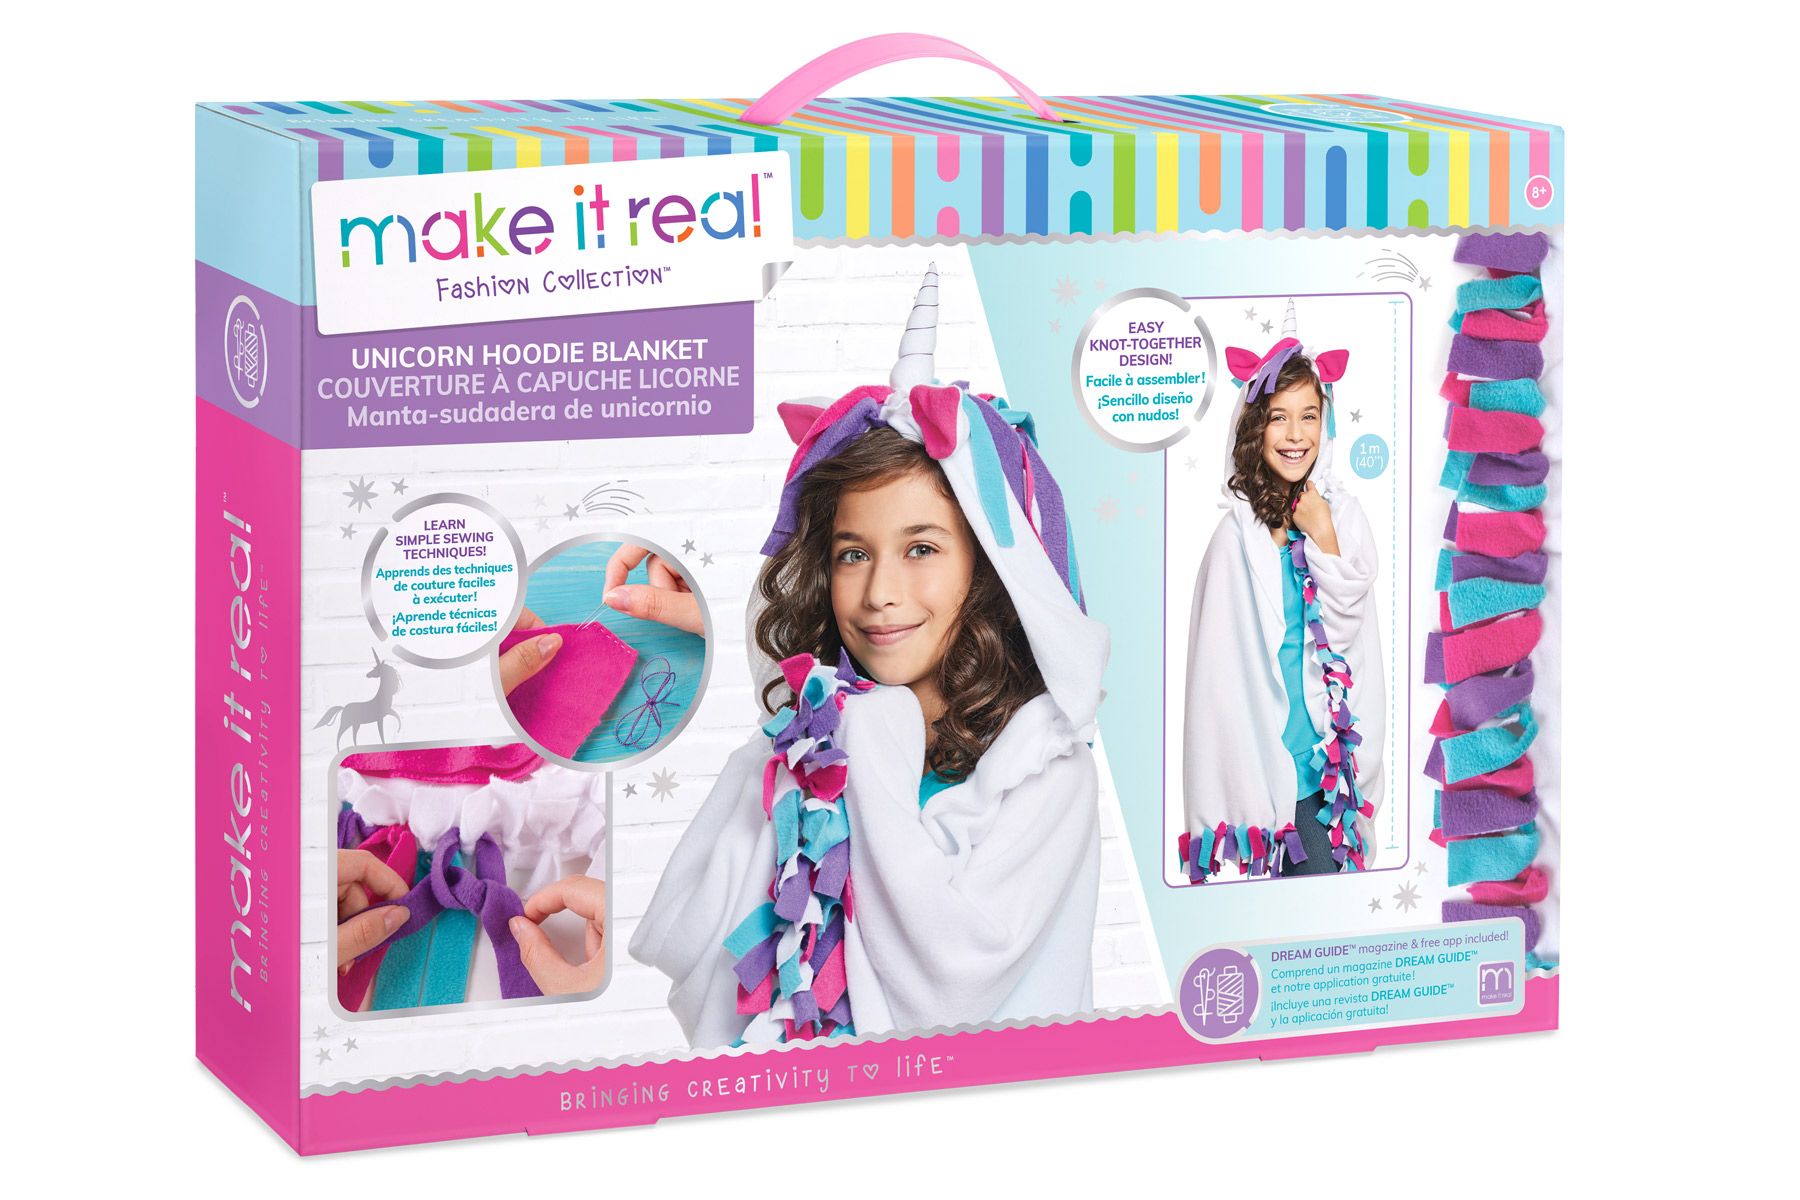
Your child might also enjoy making his or her own blanket or hoodie blanket- these are both adorable. There is the “Make It Real” Unicorn Blanket Hoodie, which comes with everything needed to make a super cute blanket (although I think it looks more like a cape) complete with unicorn hood. This fleece knotted blanket will help your child develop and learn skills useful both for making the item and for the future, which I love. Learning toys are the best. Know how to sew? That much easier. Learning how? No problem at all, making the Unicorn Blanket Hoodie will help teach you.  $24.99 on Amazon and Jo-Ann Fabrics.

wear shark fin

Prefer something with a little more bite? ALEX makes the new DIY Knot A Shark for kids who’d like to try their fin at something new. The ALEX DIY Knot-A-Shark comes with everything you need to make your own snuggly, scary blanket. Not JUST a blanket, but also a tail- your child can get inside it once finished and swim off to bedtime or to cuddle on the couch for shark week. $30.99 on https://www.alexbrands.com

Knitting And Crocheting – Is There Really Any Difference?

Once you have started knitting, crocheting or both you will quickly see that there is a difference in the way these two methods are completed and the finished result. However, this is not always obvious to the untrained eye, hence why this article will help you to understand the difference.

It is worth noting that both techniques use the same type of yarn, you can find a huge array of products if you click here; that should give you the inspiration to get started!

Knitting is believed to originate from before Christian times, making it an ancient art. There are certainly many examples of it through history.

Crocheting, on the other hand, appears to be a much younger practice. It dates from the 19th century and has been referred to as ‘shepherd’s knitting’.

The Differences

There are several clear differences as illustrated below:

Needles

The first thing you need to note is that the procedure for creating items is very different. Knitting uses two needles. Stitches are placed onto these needles and are referred to as live, because they can all be added to.

In contrast crocheting uses one hook and has one live stitch.

The result is a fabric which feels different and generally feels lighter with crocheting.

The Bumps

Crocheting results in sideways stitches, as opposed to knitting where it is more like weaving.

This means that knitting provides a closely woven material which is excellent at keeping you warm. In contrast crocheting will have loose stitches which almost appear to have holes in. This is not great or warmth and can even be an issue for modesty. Of course; in warmer climates this can be seen as preferential!

Speed

Crocheting generally appears to be faster as you deal with just one stitch at a time. However, the length of each row does need to be the same as knitting so this might be more of an appearance issue than an actual fact!

Your speed at either crocheting or knitting will depend upon your experience and confidence.

Dropping Stitches

You work with just one live stitch when crocheting which makes it virtually impossible to miss a stitch. In contrast it is relatively easy to do this when knitting, which can be extremely frustrating when you are several lines along before realizing! You have to literally unpick all your stitches!

Design

Both crocheting and knitting use patterns to assist you in creating your desired design. However, knitting will generally allow you to make a much more detailed and ornate piece that crocheting will. This is simply the nature of the technique and a matter of personal preference regarding which style you prefer.

There are a great number of followers of both techniques and many people learn both, but be assured they are different and do produce a different feel and look when completed.

You can always seek support from one of the many knitting and crocheting forums on the web, this will ensure you are never short of ideas and get your designs right!


Upcycling Your Old Jewelry

As a frequent jewelry wearer, you no doubt have the four staples: earrings, necklaces, bangles and rings. And of all the jewelry you have, there are probably a select few pieces that you wear regularly, leaving every other statement or discolored green piece you have collecting dust in your jewelry box.

Why do we hold onto jewelry we don’t wear? Why do we buy more when we already don’t wear most of the jewelry we have already? It doesn’t make any sense! We’re literally spending time and money on sparkly accessories we don’t plan to wear more than once, so what’s with the obsession?

Upcycling is so in Vogue

What if I told you that you could still get your new jewelry fix without spending an arm or a leg? Though I personally cannot see your face, something tells me you might be a little skeptical. I mean, who could blame you, right? I’m a total stranger to you. What do I know about jewelry?

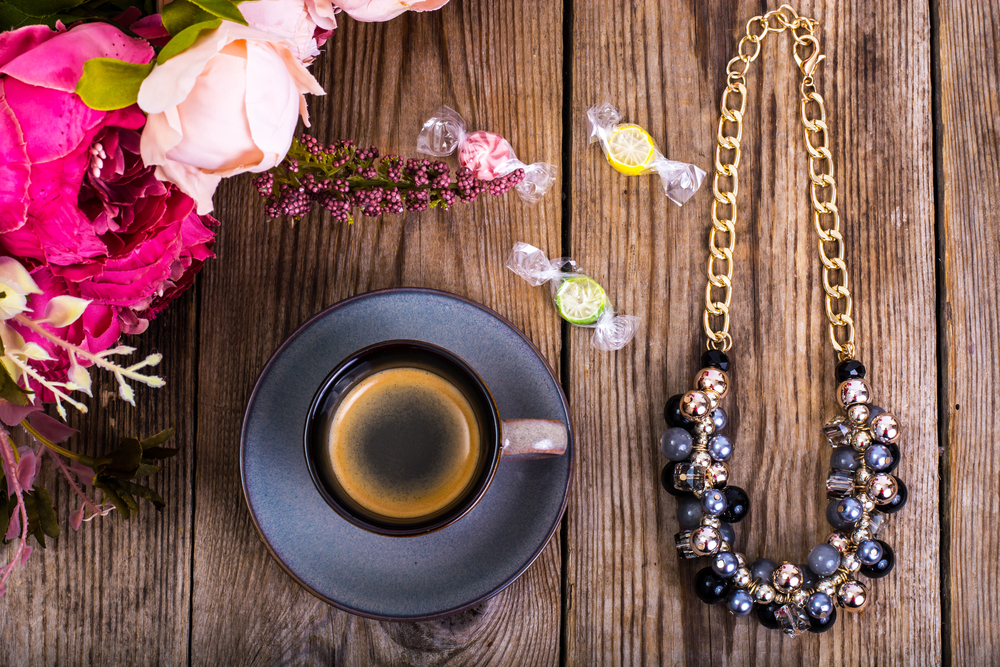
What I know about jewelry is that you can make your own knock-off J.Crew necklaces and baubles for less than a fraction of the retail price. Upcycling jewelry isn’t a new trend, but it is a hot trend. You can take materials from around the house and take apart the jewelry you don’t wear anymore to make something new, fresh and completely original: nobody else will have that necklace, pair of earrings or ring but you. And believe me, you won’t be left wanting for new jewelry making ideas.

Deconstructing a Necklace for Parts

Statement necklaces, pendants and chokers have hit the mainstream hard. Every girl has at least three of each in her repertoire but really only sticks with one style. When you have about a gazillion necklaces and only wear one or two of them, you know it’s time to do some recycling, or upcycling. Deconstructing a necklace isn’t too hard to do, and by the end of it you have parts to make a new necklace for yourself or a friend. Let’s go through the steps of taking apart an old necklace.

Step 1: Using a pair of pliers, gently twist apart and remove the split rings on either end of the necklace.

Step 2: After removing the split ring, slide the crimp bead and clasp off of the split rings.

Step 3: Remove all beads, pendants and crystal from the chain.

Step 4: Put the beads, pendants or crystal away for future craft projects.

Making a “New’ Necklace from Upcycled Parts

If you did not like the original beading of the necklace but liked the chain and clasp, all you have to do is visit your local craft store to buy new charms for your new necklace. Now, let’s make the upcycled necklace.

Step 1: Carefully thread your new pendant/beads onto the chain.

Step 2: Taking the two original split rings, slide them back through either end of the chain. Do not twist them back together yet.

Step 3: Thread the crimp bead and clasp through their corresponding split rings. Using your pliers, gently fasten the split rings back together using the same twisting motion you used to pull them apart.

Step 4: Clasp the necklace around your neck and look at the amazing new custom necklace you have made!

Now that you’ve learned how easy it is to upcycle your necklaces, try upcycling a pair of old earrings next or use enamel paint to paint over that discolored ring. And guess what? You don’t have to make more jewelry with the old, you can use your “new” jewelry parts for a collage, bookmark or any other number of things—the choice is yours!

Great Gifts For Your Kids

The cold and eventful festive days are coming up quickly, which means lots of fun events for adults but long stuffy days indoors for kids! Being stuck inside during holidays can be boring, making your little ones cranky.

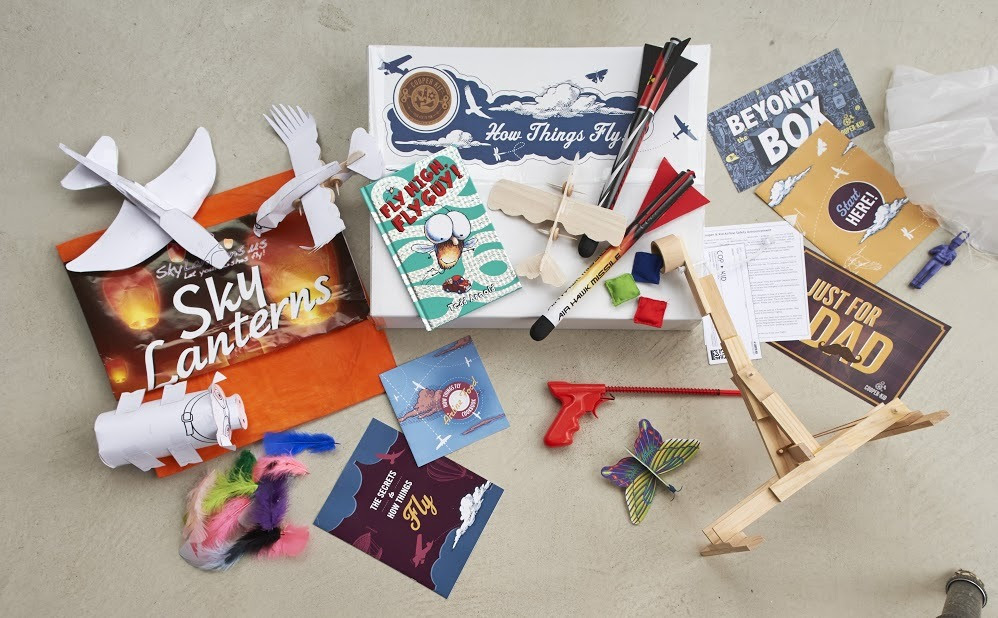
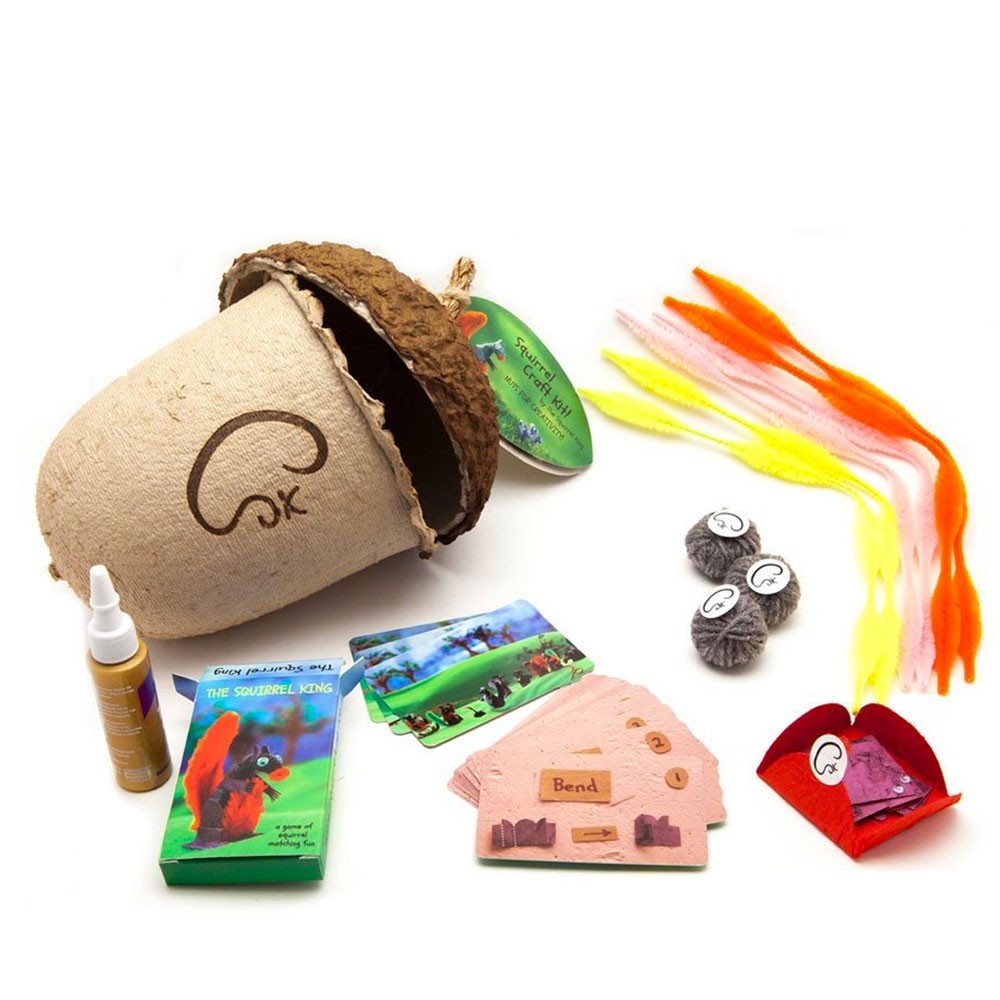
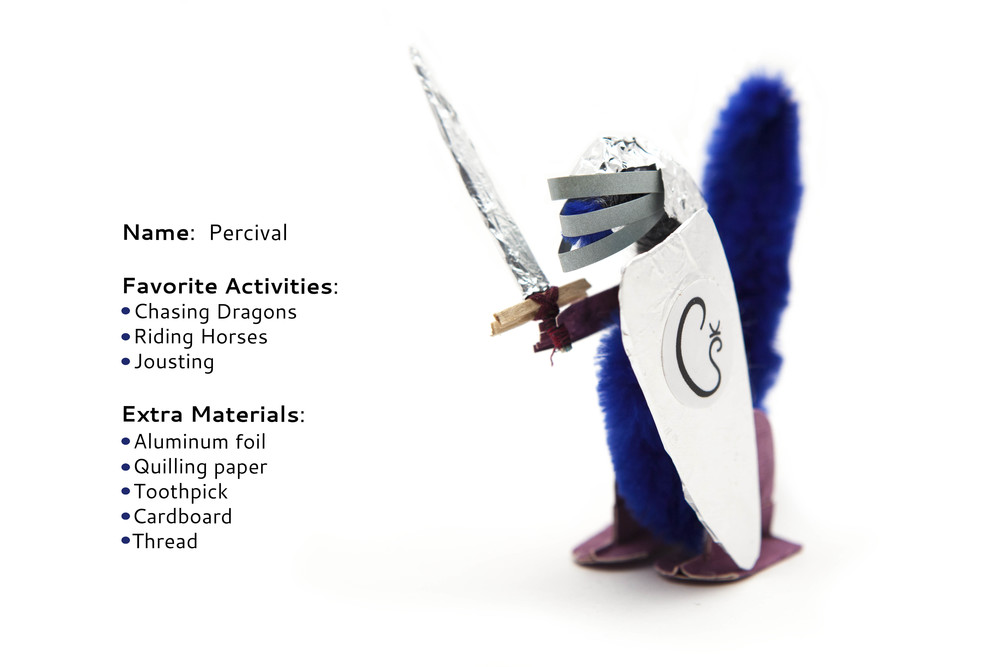
Let me introduce to you some creative solutions to beat the hard-to-cure holiday cabin fever! Cooper and Kid–creatively curated kits designed especially for kids to have fun while learning. Squirrel King–craft kits that transform a child’s reality into an imaginative world of colorful squirrels and the homes they live in. And last but not least, Zoonicorns–the unique combination of unicorns and zebras into adventurous plush toys, with a creative children’s book to bring the characters to life.

STEM learning kits

Cooper and Kid is all about making dad cool again and doing what matters most–bonding with the kids! Cooper & Kid has everything a dad needs in the winter for educational fun (think STEM) with his kids! Each Cooper Kit is fun-in-a-box with endless hours of amusement…no more mindless TV shows! Each kit contains a huge box of fun, with themed projects, toys, books and ideas that dads and kids will truly enjoy. Together they can build rocket ships, take off with sky lanterns or explore the world of butterflies — there is so much to create and discover!

An activity book guides dads through the theme and the contents of the box for hours of fun. Plus, the shipping box turns into a toy too! Sign up for the Cooper & Kid subscription online and every three months a Cooper kit is delivered to dad at home. The subscription price is $65 per quarter.

pic5

The fun, unique and ingenious Squirrel King kits are a swirl of intellect, engineering and creativity delivered with a hands-on approach that inspires a thirst for knowledge. Designed for ages 8 and up, the Build with Stickers kits combine two things kids love — stickers and building. Each colorful kit includes novel stickering techniques — no glue involved — and all the materials for children to build, create and explore, making awesome toys in the process…and making those rainy days educational and fun! With Build with Stickers kits, STEM (science, technology, education and math) principles are explored in an age-appropriate manner.

pic6

The new Build with Stickers Kits are available on the Squirrel King Craft website and at select retail stores, priced from $5.99 to $7.99. The original Squirrel King Craft kit is also available on the website and in over 200 stores across the country, and in a range of choices for $9.99 to $69.99.
pic6

Zoonicorns are enriching youth with life adventures™ and creating wonderful imaginative worlds.  My son really enjoyed the book and the plush zoonicorn- something to cuddle and a friend to take to bed later and give him good dreams, just like the young animal in the story.  He thought that was fun.  As my child often has bad dreams, this was comforting to him.   The book was cute, with an easy to follow story and adorable illustrations.  I would recommend this to any parents with young children of either gender.

Fairy-tale Zoonicorns are enchanting creatures that pop up in the dreams of young zoo animals. Zoonicorns are unique, plush toys for children that a combine an exotic animal (zebra) and a mythical creature (unicorn). The Zoonicorn herd is ready for adventure in the enchanting world of your youngster’s imagination and keep them occupied for hours on end.

Super-soft Valeo is the leader of the Zoonicorn pack, who likes to pal around with animal friends like African giraffes. Shy and gentle Promithea is a good friend who can be trusted to keep your little one’s secrets. Playful Ene likes to catch forty winks before bouncing to life to rumble and tumble with. Outgoing Aliel loves to speed around and will challenge any kid to keep up with her.

Each Zoonicorn is $9.99 or you can get the entire family plus children’s book for $49.91

Great Books for Snoopy and Disney Princess Fans

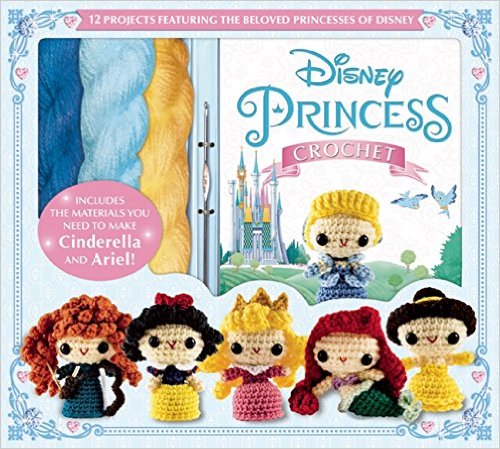
This winter, Thunder Bay Press presents three titles perfect for any pop culture fan’s collection: The Snoopy Treasures by Peanuts expert Nat Gertler, Disney Frozen Crochet by Kati Gálusz, and Disney Princess Crochet by Jana Whitley and Jessica Ward

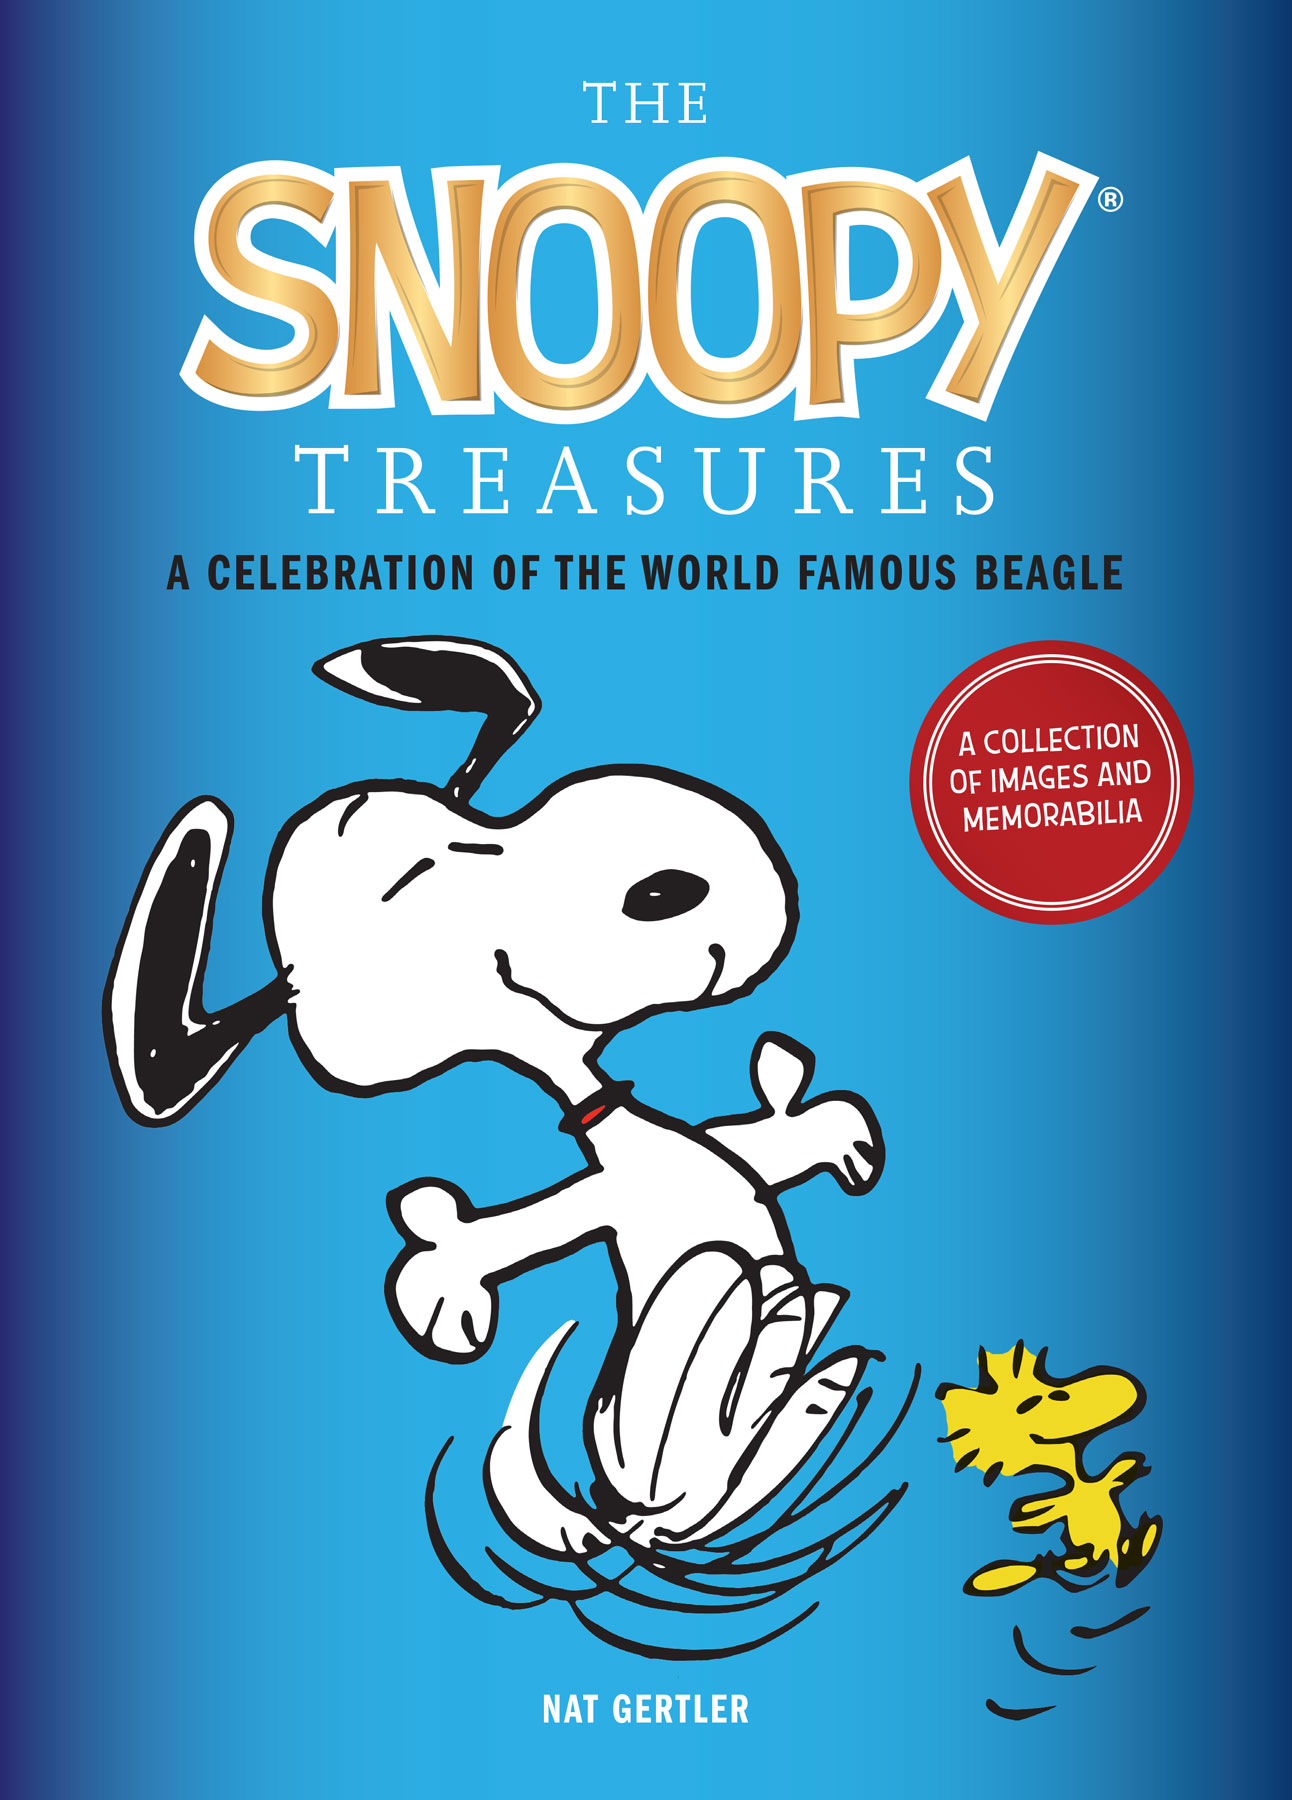
Timed to the release of The Peanuts Movie, The Snoopy Treasures (November 2015; $34.95; ISBN: 978-1-62686-440-5) tells the story of everyone’s favorite beagle from the beloved childhood pet who inspired his creation, to his status as a cultural icon and beyond.

pic4

This comprehensive guide is divided into 12 sections covering Snoopy’s origins, his alter egos from Joe Cool to the Flying Ace, his family at the Daisy Hill Puppy Farm, his friends in the beloved Peanuts gang, and his prevalence in pop culture – in songs, movies, books, plays, parades, museums, and even NASA, who named a lunar landing module after him as they prepared to put man on the moon in 1969.

Each page features original Peanuts panels, side-by-side comparisons showing the evolution of Snoopy into the universally recognizable style we know today, photographs from the Schulz museum, and ten pieces of pullout memorabilia: an original Schulz drawing, a Snoopy baseball pennant (popular dorm décor in the 60s and 70s), a letter from President Ronald Reagan to Schulz, a bookmark, a bumper sticker, a punch out model of the Red Baron’s plane, the last Peanuts strip ever printed, and more.

Lifelong fans and first-timers alike will discover something new within the pages of this in-depth compendium, making The Snoopy Treasures the perfect holiday gift for Snoopy lovers of all ages.

disney frozen

Disney Frozen Crochet (November 2015; $24.95; ISBN: 978-1-62686-443-6): Do you want to crochet a snowman? How about Elsa and Anna, too? Let it go and create all twelve cuddly characters from the Frozen tundra! All the materials you need to create Elsa and Anna are included, and your creativity is sure to snowball from there. The Queen of Cold and all her friends will make great gifts, or adorable additions to your own collection. Don’t hesitate! For the first time in forever, let these characters melt your heart.

  • 12 adorable crochet characters, including Elsa, Anna, Olaf, Sven, and more!
  • Step-by-step instructions accompanied by full-color photos in a 76-page book.
  • All the materials you need to make Elsa and Anna are included.
  • Kit includes 8 colors of yarn, crochet hook, stuffing, safety eye beads, 4 colors of embroidery floss, tulle, and a tapestry needle.

disney princesses

Disney Princess Crochet (November 2015; $24.95; ISBN: 978-1-62686-444-3): Create 12 of Disney’s most enchanting characters! A full-color, 76-page instruction book with detailed patterns and colorful photos will guide you from “once upon a time” to “happily ever after” using your yarn and hook. To start you off, the kit includes all the materials needed to create Cinderella and Ariel. Each amigurumi princess is sure to be a treasured part of any crochet collection!

  • Detailed instructions to make 11 Disney princesses— Ariel, Cinderella, Belle, Aurora, Jasmine, Tiana, Rapunzel, Mulan, Snow White, Pocahontas, and Merida—and Cinderella’s Fairy Godmother.
  • Full-color photos accompany step-by-step instructions in a 76-page book.
  • Kit includes 9 colors of yarn, crochet hook, stuffing, safety eye beads, red embroidery

floss, and a tapestry needle.

  • Featured projects are Cinderella and Ariel.

Crafty Kids Amazing Totes from Creative Hands

Disclosure: The Craft totes from Creative from Fibre Craft was provided to me to help facilitate my review. All opinions are my own and honest. I am disclosing this in accordance to FTC Guidelines. Please see “Disclose” tab for more information.
20150719_184144

Being a teacher I love spending my weekends and summers doing crafts and projects with my girls. I absolutely love find new fun projects do with the girls. I was so excited to try out these great new Craft totes from Creative Hands which is part of Fibre Craft.

About Fibre Craft:

 Fibre Craft has been a leader in the creative activities category for over 60 years. It was established in 1953, and has maintained its high standards for quality and creativity, while expanding the boundaries of children’s imaginations through creative toys and arts and crafts. The company’s vision is to make a difference in the lives of children and its employees.

20150721_121038

About Creative Hands:

Creative Hands is a brand of family-oriented, hands-on products in the arts and crafts industry. They know the importance of arts education and the value of being resourceful, inventive, and original at a young age. Besides offering endless hours of fun, arts and crafts provide real benefits to a child’s learning. Creative Hands arts and crafts products include activity kits, seasonal crafts, and basic craft supplies.

20150721_122550

About the Kits:

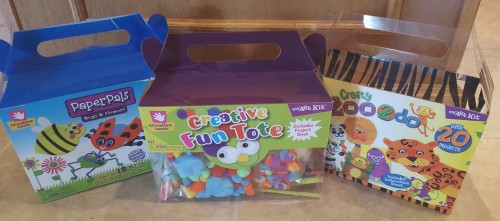
Zoo 2 Do – All the animals in the zoo are jumping up and down for you! This Zoo 2 Do kit with the tote-able handle, features monkey, giraffe, lion, zebra, and others for a total of 25 zoo-themed projects.

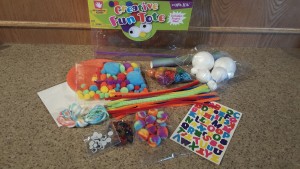
Creative Fun Tote – Rainy Days and Sundays are ideal for this overflowing box of craft pieces that can be transformed into animals, cupcakes, bugs, pencil toppers, and whatever the imagination can conjure. Kids can follow the enclosed project sheet or personalize with their own wacky ideas. Art is in the eye of the beholder!

Paper Pals Bugs & Flowers – Even kids with allergies will adore these pretty flowers and friendly bugs that are tucked inside Paper Pals – a kit that starts with paper plates and paper cups! This tote-able kit makes 12 big projects. A project sheet is included to start kids off. The final results are totally up to the child.

20150721_125310

My Thoughts:

I was incredibly impressed by this great product. All the supplies that you need for a wide variety of projects together in one spot and with instructions to guide you, how could you possibly go wrong? 🙂 We are out and about and on the go a lot and I am always looking for something to take with me for the girls to have to do when we get somewhere. I have had a few vacations this summer and been so happy to have a tote full of art supplies that I can throw in the car as we are pulling out.
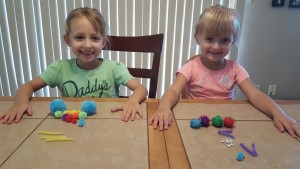
The girls have enjoyed all of the wonderful creations that they have already made. When they see me get out one of the craft totes they get excited to pick out what project that they are going to make. A few of the projects they have definitely needed my help for, but I enjoy doing things with them so that definitely isn’t a problem for me.

In addition to all the projects we have made and the convenience of having everything together in one spot, it’s not the only use that I have found for the Craft totes. The Totes make wonderful gifts for birthday parties for kids.

20150721_124306

Purchase:

If you are interested in purchasing these great products, click here to find the best place for you to purchase the products you are interested in.

Great Craft to Do With Kids

20150620_211250

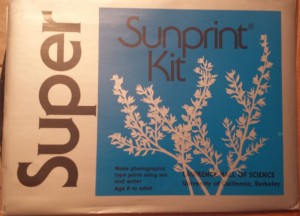
I absolutely love to do crafts with my girls. I am constantly on the look out to try and find new fun things for us to be able to do together. I was so excited when a dear friend of mine mentioned UV Paper. I had truthfully never heard of UV paper before so I was incredibly excited to get my hands on some to give it a try. I found this Sunprint Kit on Amazon and was very impressed.

Here’s what you need:

  • Sunprint Paper
  • Acrylic Sheet
  • Cardboard
  • A sink w/ running water or a tub full of water
  • Fun and Interesting objects to print

20150620_112515 (1)

How To:

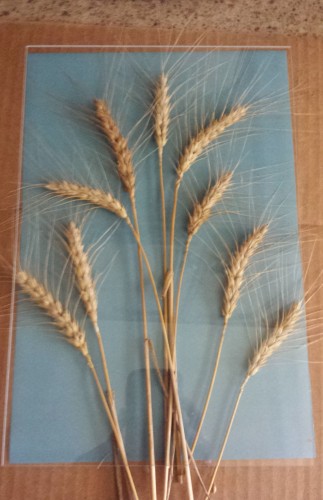
  1. Arrange your objects on a piece of Sunprint paper (blue side up & on top of a piece of cardboard)  out of the reach of the sun.
  2. Place the acrylic pressing sheet on top to flatten and hold your items to the Sunprint paper.
  3. Take your Sunprint outside and lay it in direct sunlight for 2-5 minutes.
  4. Rinse your Sunprint in water. Watch the white turn into blue and the blue paper turn to white.
  5. Lay your Sunprint on an absorbent surface and allow it to dry.


Important Tip:

*I would highly recommend you do this when the sun is directly overhead (around noon)–Shadows from the sun not being directly overhead will transfer onto the paper as well. 20150620_211302 (1)

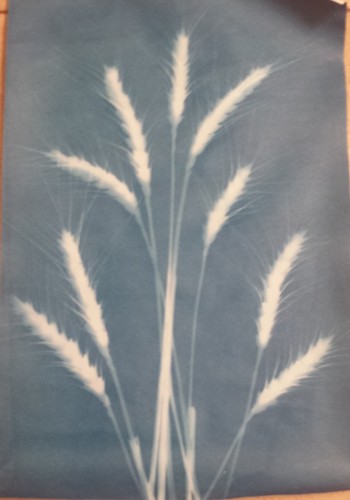
Living in the midwest, we are currently beginning wheat harvest. It’s a fun and busy time of year for our family. With wheat harvest in full action and Father’s Day tomorrow I thought that this would be a great gift for my husband and father in law from my girls. We headed out to the wheat field and cut a handful of wheat. We brought it back and got right to work. I can’t wait for my husband to see it in the morning as well as his dad. The girls were very proud and how exciting to use our wheat to create a lasting memory.

This was so much fun!  I can’t wait to do many more projects with UV paper in the future. The possibilities truly are endless!!